

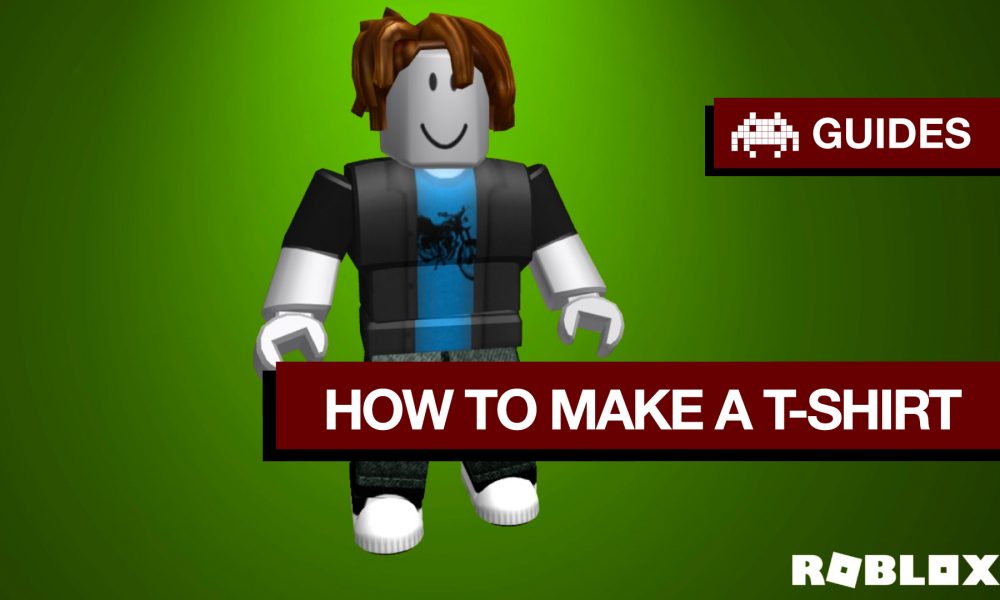
Hey there fellow Robloxians! Are you ready to become the next fashion icon in the virtual world of Roblox? If you’re looking to make your own custom shirts, you’ve come to the right place! In this guide, we’ll show you how to make Roblox shirts step-by-step, and in no time, you’ll be creating the most stylish and unique designs on the platform!
How to Make Roblox Shirts
Step 1: Get the Tools You Need
The first step to making your own shirts is to make sure you have the right tools. You’ll need to have a Roblox account, and if you don’t already have one, you can create one for free on the official Roblox website.
Step 2: Choose Your Design
Now that you have your tools ready, it’s time to choose your design. You can use any image editing software you like to create your design. Some popular options include Adobe Photoshop, GIMP, or even just Microsoft Paint. The important thing is to make sure the design you choose is in a .png format.
Step 3: Upload Your Design
Once you’ve created your design, it’s time to upload it to Roblox. To do this, log in to your account and go to the “Create” section. Download Roblox Studio and open it. From there, click on the “Shirts” tab and select “Create a Shirt.” Click Choose File and select your file to upload.
Step 4: Position Your Design
Now that your design is uploaded, it’s time to position it on the shirt. You can use the tools in the “Create” section to move, resize, and rotate your design until it’s just right. Don’t forget to check out the different shirt colors and see how your design looks on each one!
Step 5: Name Your Shirt
Once your shirt is positioned just how you like it, it’s time to give it a name. You can name it anything you like, but make sure it’s descriptive and catchy so people will want to buy it. When it comes to setting the price, think about how much time and effort you put into creating the design, and set a price that you feel is fair.
Step 6: Publish Your Shirt
The final step is to publish your shirt. To do this, simply click the “Publish” button in the “Create” section. Click the Upload for 10 Robux button. Once approved by Roblox, the item will show up as one of your creations and can be applied to your avatar.
Congratulations, you’ve now created your own custom Roblox shirt!
In conclusion, creating a custom shirt on Roblox is a fun and easy process. Just follow these simple steps and let your imagination run wild! Who knows, you might even become the next big fashion designer in the Roblox world!
For more Roblox content such as ‘5 Different Ways You Can Get Robux‘, ‘Parents Guide To Roblox‘ or ‘Roblox Scams and How to Avoid Them‘ click the links.
Latest
Lost Gems
-

Top 10 Meta Quest 2 Games For Children
-
Stormforce Gaming & The Prism iCue 6209
-
Licensed Xbox Games for Kids 2022/23
-
New Mods for Minecraft Bedrock 2023
-
The 6,6,6 Scariest Games of 2022
-
5 Great Udemy Courses For New Game Developers
-
Hearthstone Alternatives For Lovers of Card Games
-
My Top 10 Star Wars Games of All Time
-
5 of the Most Interesting Mobile Games at EGX Rezzed
-
11 Wicked Witches in Video Games | Halloween Special
-
Beginners Guide to Pokemon Go [Updated]
-
Advanced 2D and 3D Game Development Software
-
My Top 5 Boxing Games
-
Parents Guide to Minecraft
-
10 Great Kids Games From 2016 on Xbox One


You must be logged in to post a comment Login